


How to make a simple hearth for a wood burner
Laying a Hearth for a Log Burner (from natural riven slate, limestone or similar)
Most of the hearths I fit are simple riven-slate (various hues but usually grey) or limestone (black). They both provide a rough and ready but pleasing rustic type hearth. The materials are inexpensive compared to granite or honed slate.

Riven slate on sand cement base (not yet wiped with slate oil or WD40 which both send the grey to black).
Riven slate (natural slate) or limestone are good materials although a visit to your local builder’s merchant’s yard should provide plenty of inspiration. Black limestone I have found available in 60cm x 60cm or 90 x 60cm tiles and smaller, about 2cm thick. Riven slate in the same sizes (90 x 60 preferred by me as they will often reach from back of recess to front of hearth area in one go so no cutting). Cost approx. £17-£22 per tile.
Something to cut the stone with. I use an angle grinder with a 9″ diamond tipped cutting disc. The grinder was £99 Makita brand (can hire) and the cutting disc approx. £40.
Building Control permission? Not required.
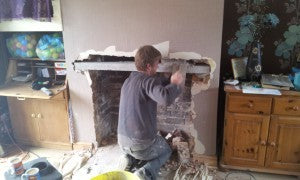
Getting started

Limestone hearth (slate oil applied). Four pieces used at £12 each.
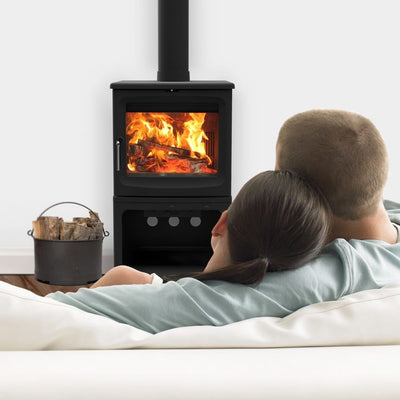
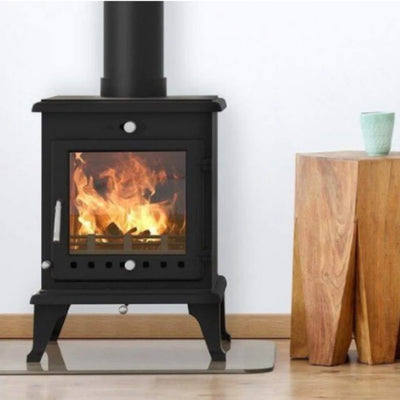
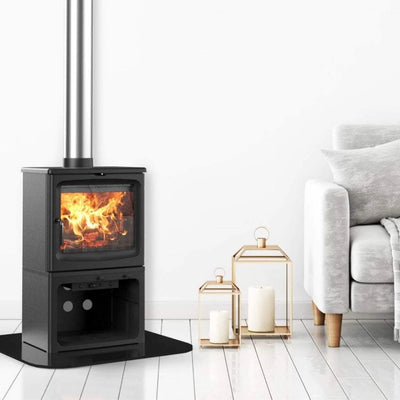
If you have a free standing stove not in a chimney recess there is a picture a little later on of a finished hearth especially for you. The process in this case is the same (usually there is less intricate cutting).
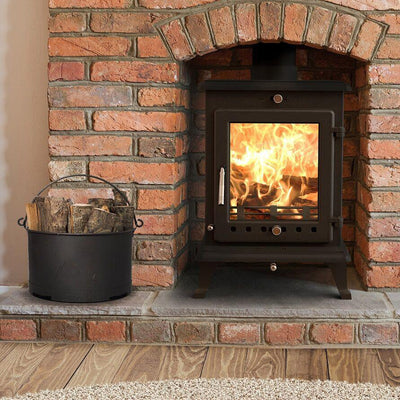
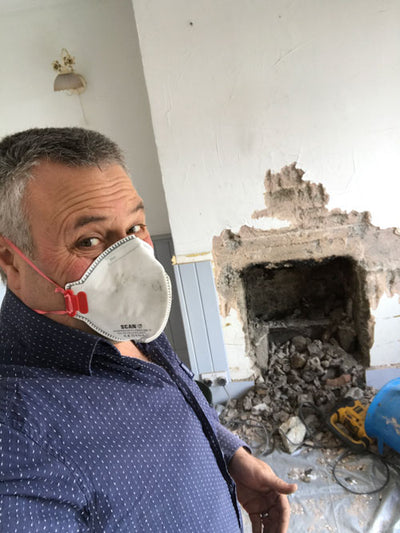
If your stove is going into a recess then you should by now have a builder’s opening (lined or unlined it does not matter at this stage although I prefer unlined so the back and side boards cover any gaps).
The process of creating your stove is quite simple: cut your tiles into shape, PVA bottom surface of tile, bed onto a sand cement mix, leave to set, grout.
Cutting the tiles with an angle grinder is best done very carefully (gloves/goggles/mask etc.).

Limestone close up. The limestone I fit upside down, as what is meant to be the bottom surface is always a lot smoother than the opposite surface. It does mean that the edge tapers slightly away from the stove by 5mm or so but it looks fine. I also grind the edges gently so as to round them a little because they can be sharp.
You will likely end up with a few chips on the edges of your cuts – this cannot be helped and likely the materials you buy will have imperfections anyway: you are aiming at a “rough and ready rustic hearth” here).
It is up to you how many pieces you end up with as your hearth or where the grout lines fall – you should get the general idea from all the various photos on this site.
Once cut, PVA the floor surface and the downward-facing side of the tile. Mix plenty of sand cement mix with a medium to wet consistency. You want for the tile to sit on the cement and be soft enough so you can level the tiles but not so thin that it all squidges out the front, sides and gaps. If you have three tiles then I would tend towards fitting the middle one first.

Why I like the 90x60cm riven slate tiles so much (less grouting!)
Use a spirit level to ensure your new hearth is flat (left/right and front/back). Clean up any mortar that has squidged out from front/sides/gaps taking out more rather than less (on top you will need room to add grout and it is hard to add grout to a gap already filled with mortar).
Let this go hard (overnight or six hours). Mix another sand cement mix and add some black cement dye – this is your grout. I do this with fingers and an old credit card and have a bucket of clean water and a sponge for cleaning up (use the sponge well wrung out so as not to wash away or dilute the grout). The black gets everywhere so you might wish to mask off around the hearth.
Another grouting method is to just use sand cement (less messy) then rub it with stove grate polish afterwards.
You can choose not to to grout your lines – is up to you. You can also choose not to grout the gaps underneath your hearth, leaving it looking as if it is “hovering” just off of the floor (looks good in my opinion).
Wiping your new hearth done (after grout dry) with slate oil (WD40 works and is used by stove-fitters) makes the whole job look really wonderful as any imperfections and scratches disappear. Note that everything darkens when you do this (grey goes black). If not sure just wipe your hearth with a damp cloth as that’s exactly what it will look like (but wait until it dries before using WD40 or slate oil).
Limestone hearth (not yet slate-oiled so looking a bit ragged).
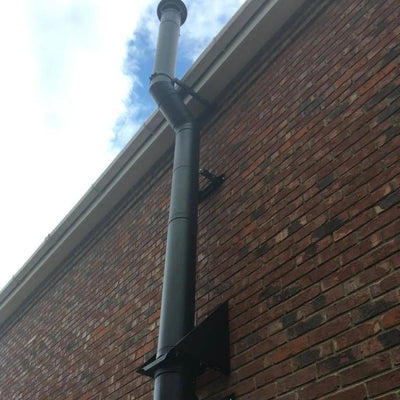
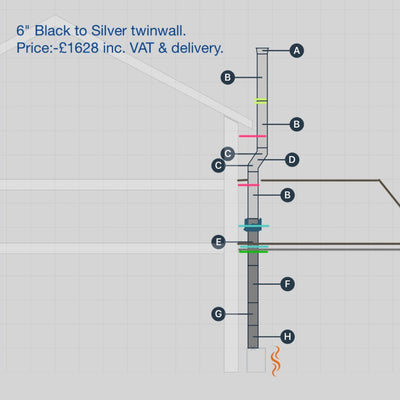
For those dying to know the silver pipe is an integral air vent so no air vent is required in the room.
Here’s a free standing stove on a limestone hearth (raised on mortar at customer request).
And that’s the simple hearth done (usually for under £70 – £90 in materials for a small hearth.
We had a customer recommend this company.
